Photoshop, though used by millions of users around the world and the most well-entrenched industry standard in graphic design, digital art, and photo editing, remains something of an enigma to many users still scratching at the surface of the software’s full potential. While the basic toolset and layout are easy to grasp, it is the more off-the-beaten-path features that make Photoshop the incredibly powerful image creation tool it is. Sadly, however, it is exactly these key features that are too often left untapped by most users.
Down below, we’ll take a quick look at one such tool, Artboards, and give you a simple and easy-to-use explanation of how artboards work and why you should consider integrating them into your workflow — be it UX design, concept art, or photo editing.
Related: How to Make Photoshop Brushes for Beginners (So You Can Stop Asking!)
What is an Artboard in Photoshop?
Artboards in Photoshop are essentially just special container groups that act like individual canvases within the same document. Because each one serves the function of a singular canvas, it is an excellent tool for interface and UX design for things like apps and websites that require several screens, often reusing images and other assets throughout.
By using Artboards, you can illustrate a user’s path through multiple screens without necessitating multiple documents and reuse a singular pool of assets — helping designers iterate, preserve theme, and see the proverbial forest along with the trees. By using artboards, users can not only speed up their workflow but can make exporting and sharing their ideas even easier.
Why Artboards are Useful
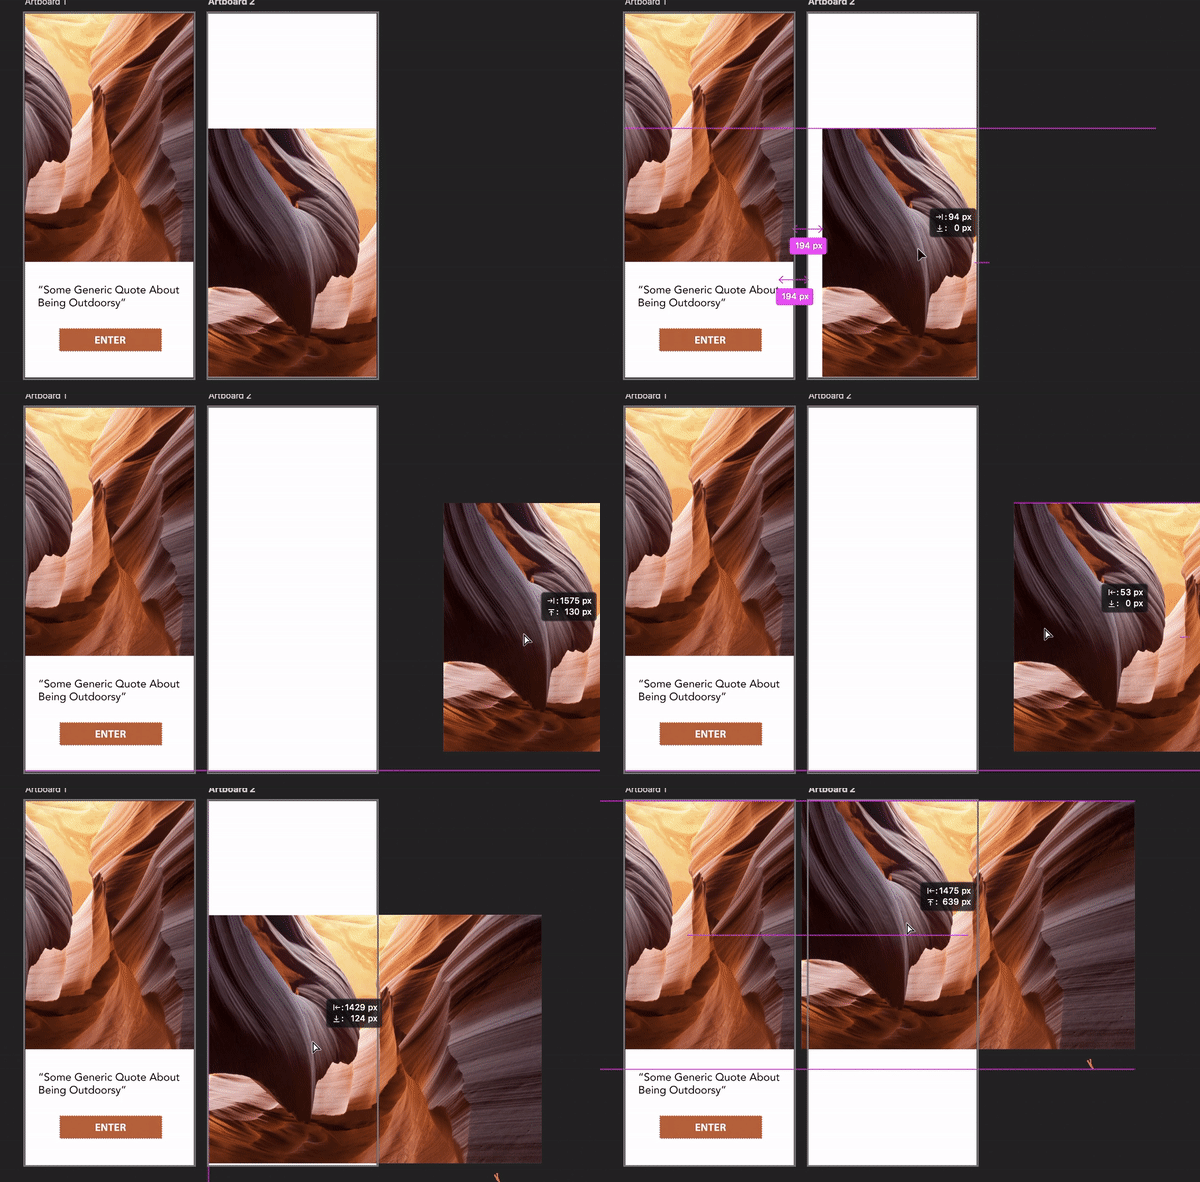
The artboard itself will automatically clip layers/images whenever any part of their pixel-area enters their canvas. This makes it great for quickly finding the crop you want and iterating compositions of individual layouts. One of the best features of artboards is the ability to use and reuse image assets across artboards. For instance, using the photograph of the canyon above, we are able to use the same photo on different screens of the same app, and, more importantly, store the photo outside of any particular canvas.

This allows you to quickly iterate ideas and move assets around in an intuitive, time-efficient way. Each asset, when clipped inside of an artboard is included under that artboard’s layer group in the layer menu. When stored outside the canvas, that particular layer is separated from any layer group and will no longer be registered as part of any artboard.

This ability to stow layers outside the Artboards’ canvases also allows designers to keep their assets on hand for easy access, giving them the ability to experiment more freely. There are numerous ways to take advantage of this.

Another excellent use-case for artboards is to create easily accessible references for artists. While there are great programs like PureRef that are designed specifically for creating large-scale reference boards, using the artboard feature can speed up artists who use a lot of photobashing in their work by storing them as layers outside the canvas.
Related: How to Flip Canvas in Photoshop: Shortcuts and Menu Location
How to Create Artboards in Photoshop
Down below we’ll run you through the basic steps to set up and control your artboards as well as export them for external use.
Step 1: Create a New Document
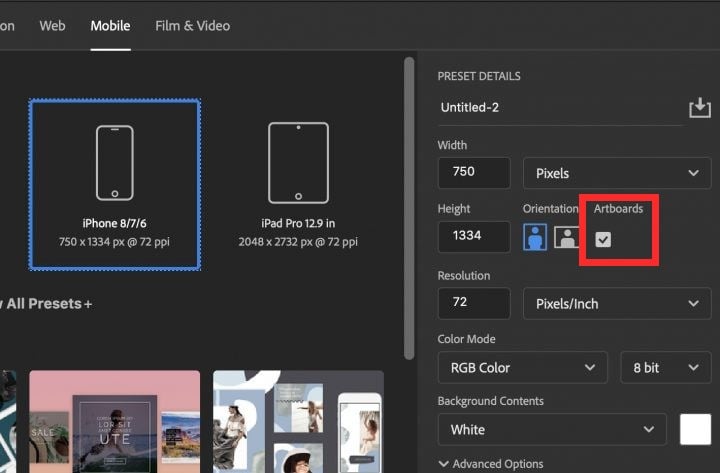
The first thing you’ll have to do is, well, create an artboard of course. To do this, all you have to do is make sure you check the artboards option besides the orientation in the new document panel. This option will automatically be selected when choosing a format from the Web or Mobile option.
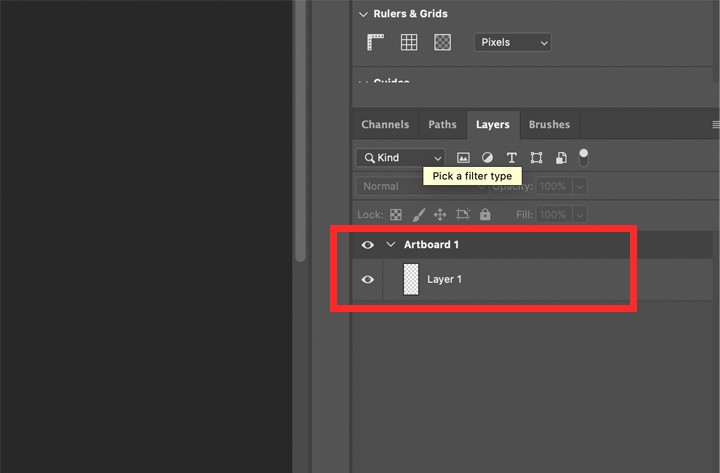
When you create a new document using Artboards, the first Artboard’s layer group will automatically be generated in the layer menu.
Step 2: Adding New Artboards

Adding new artboards in Photoshop is as simple as tapping on the artboard name and pressing any of the plus signs on the side of the artboard. Photoshop will automatically shift your cursor to the next plus sign, allowing you to quickly add any number of boards.
Step 3: Renaming Artboards
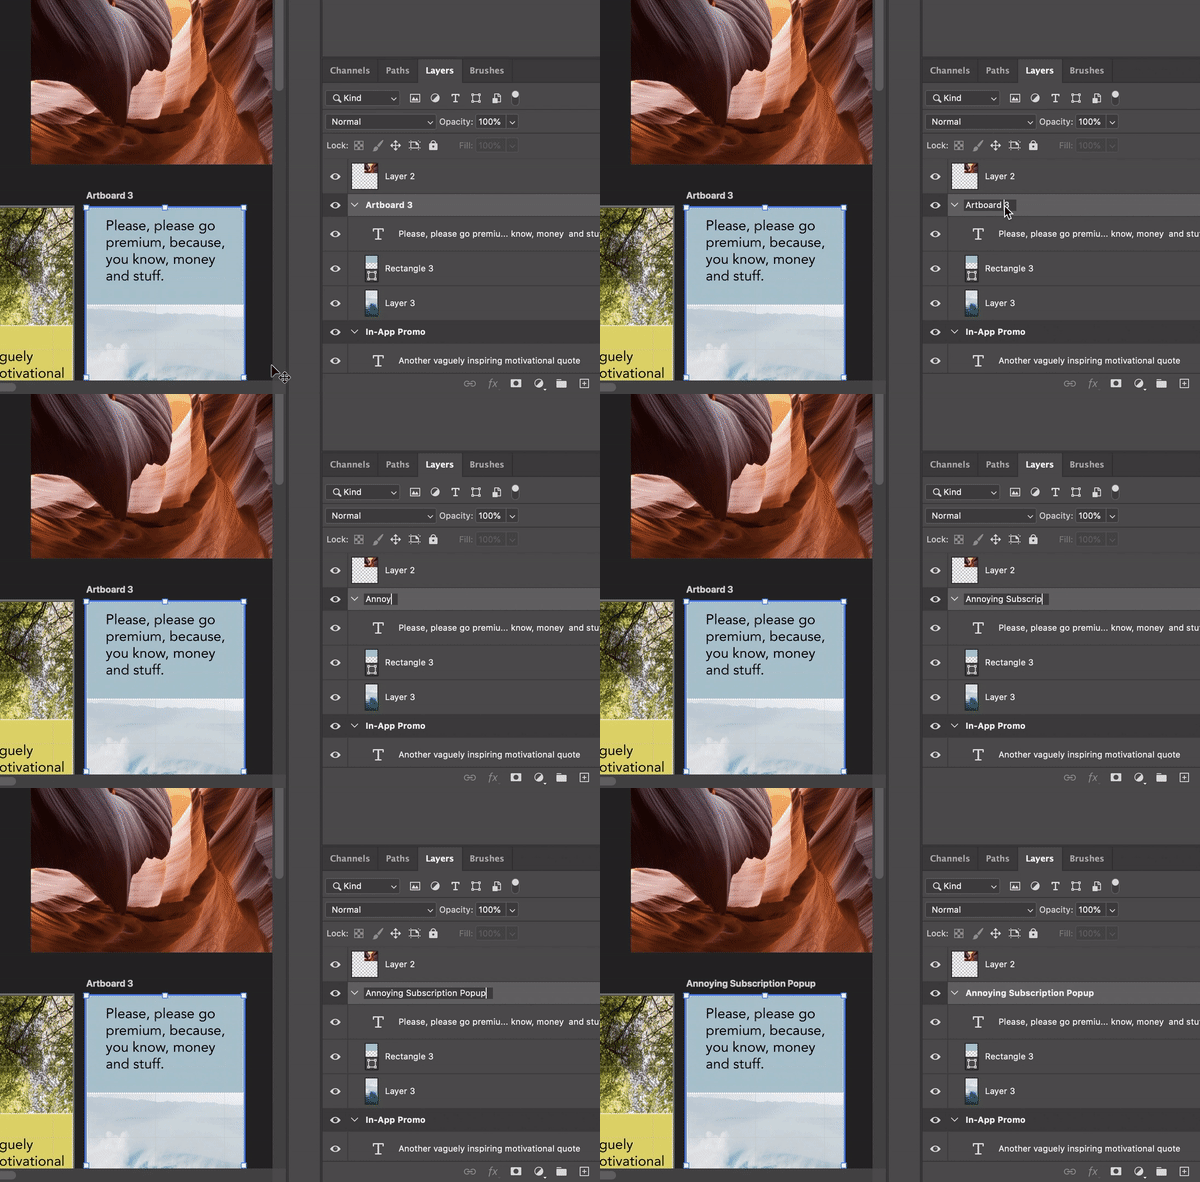
To rename your artboards, simply move over to the layers tab, double click on the artboard’s layer group title, and input an entirely appropriate name for that board.
Step 4: Exporting Artboards

Exporting your artboards is easy. Just go to File > Export and choose whether you’d like to export your artboards to local files in a number of formats or as a PDF. You have the added option of exporting either a specific board(s) by checking the ‘Export Selected Artboards” option. Leaving this option unchecked will export your boards together in a single file.
And that’s the gist of using artboards; within their outward simplicity comes numerous great workflow-enhancing capabilities, so make sure to experiment and find out how they can best be integrated into your own process.
Still confused? Nursing any more artboard or photoshop-related questions? Let ’em out — reach out to us in the comments below and we’ll rush to your aid as soon as we can!
RELATED

